Home Assistant Addiction - nappy counter edition
I thought I reached the peak of Home Automation addiction with Zigbee troubleshooting, but I was wrong. Meet the Dino-Counter: a custom-built ESP32 scale that tracks exactly how many nappies my "little dinosaur" produces.

Hey guys, I'm here to confess that I did it again... don't know actually if it is the new level of addiction but anyway here what I built as a my very first ESP32 project.
I never started any ESP32 project until today. The reason is that I never found a real use case that attracted me but the waiting is over and here we are with a really useful (😅) nappy counter. As usual, my sarcarsm is embedded in this content since any person can live without a nappy counter but no home-assistant-addicted guy can live without it once he/she knows he/she can do it.
How many of you have a little dinosaur under the roof and wondered how many nuppies your are gonna use in a day/week/year or when it was the last time you changed that dinousaur ?
Idea
The very first dummy (and simplest) idea was to add a wireless button (like any mqtt button)
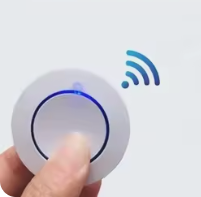
to be clicked every time the little dinosaur change happen but it raised immediately 2 problems:
- While changing any little dinosaur, it's literally impossible to remember to click also that smart button so ending with not so updated data.
- Second and most importantly, it was so simple for an home-assistant-addicted guy 😆
Said that, I decided to move forward with the second idea instead which was to detect somehow the new nappy inside the bin automatically. Even if a computer vision approach could had been interesting, I didn't put the bar so high and decided to go with building a custom scale to weight the nappy bin and detect the weight change over the time; each weight variation would have mean a new nappy.
Ali Cart
As all the home assistant stories, even that one starts on Aliexpress app searching for the best discount to save at least a couple of cents.

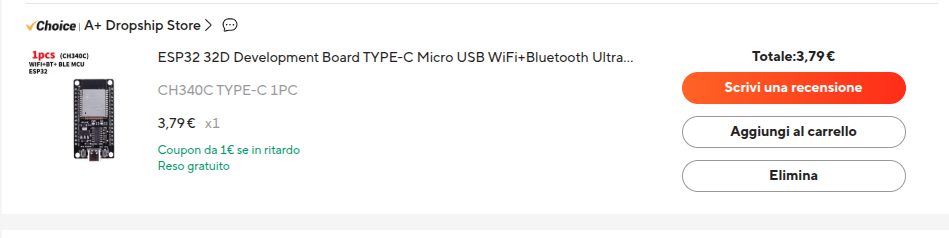
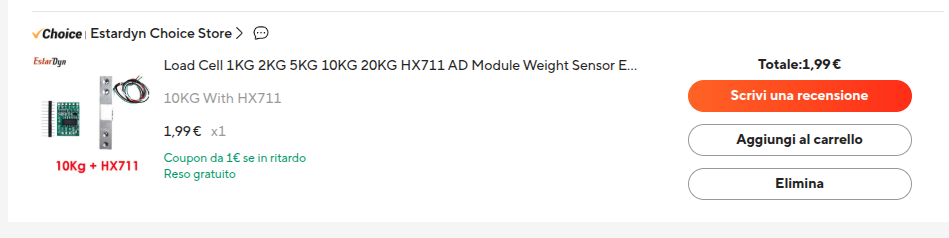
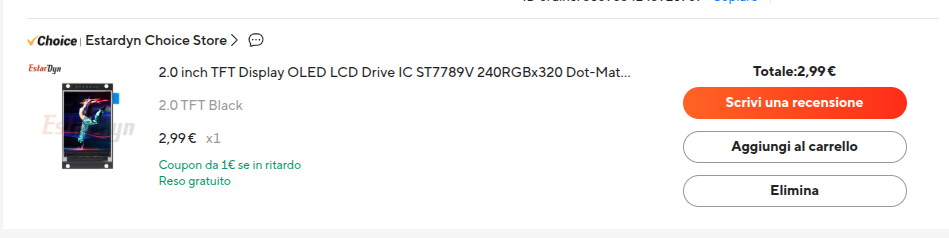
I already had a breadboard and few cables so I just needed a load cell for the bin weight, the tft display to show the weight (not strictly necessary) and the esp32 as well.
Grand Total --> € 8,77
Execution
While the dinosour was sleeping I was able to take some waste wood that I had in my cellar, I know that at some point it could have been useful (wife is not usually with me on that).
For the basement I used a ticker panel compared to the top where the bin is then located for obvious reasons.
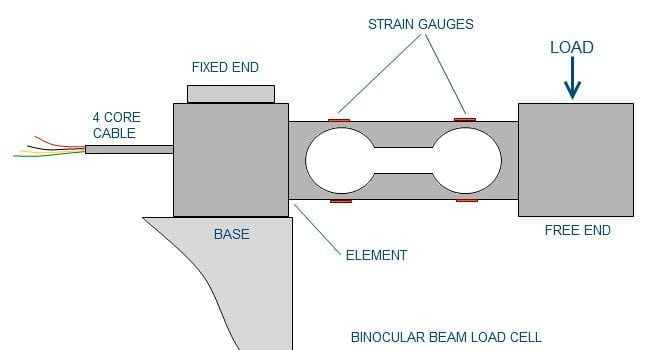
In order to put the load cell in the proper way, I had to add few shims within the base and the load cell itself.
I started using some bolts but it was not stable at all.
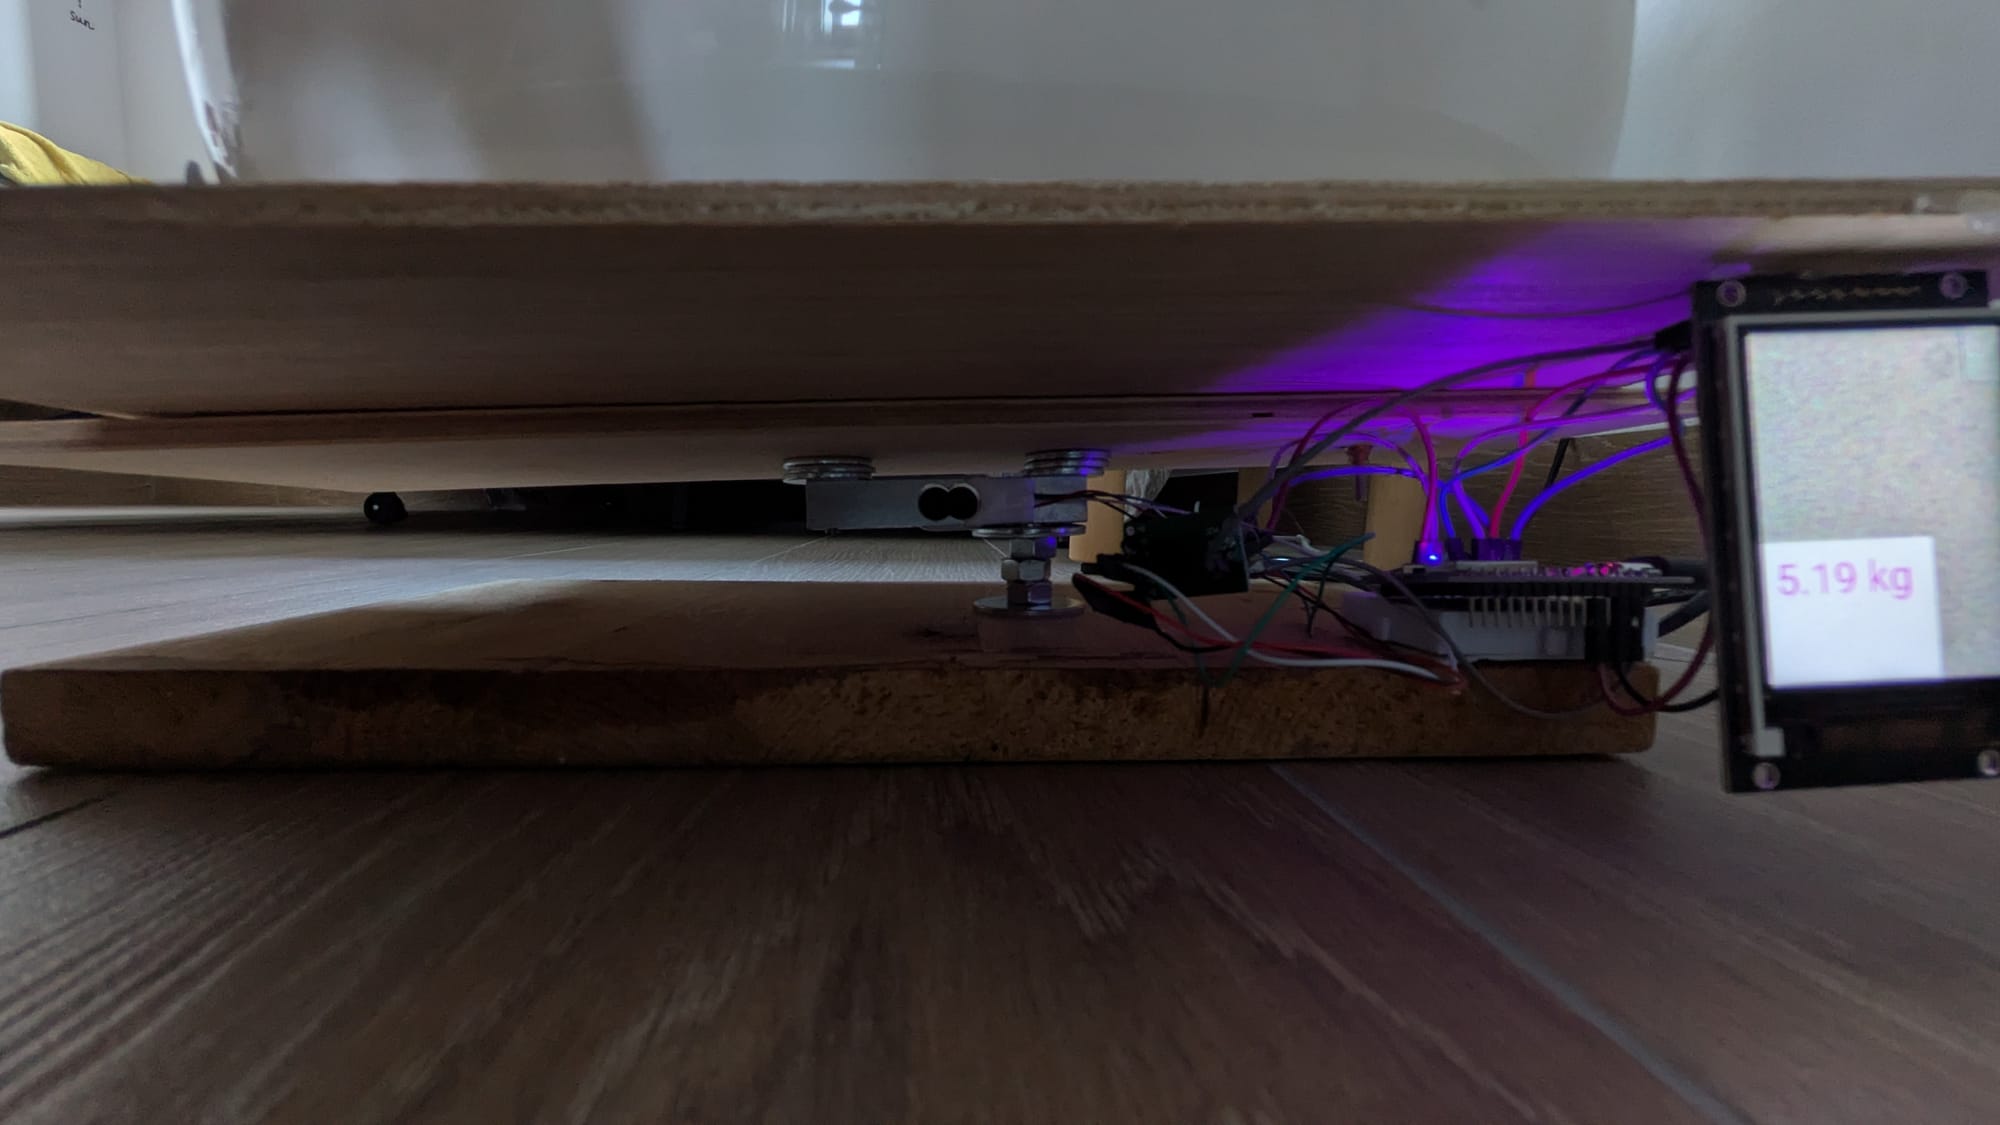
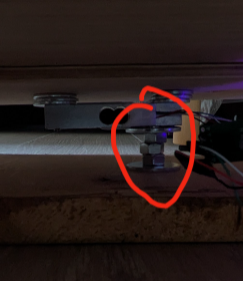
v1
I had so to switch to a v2 version, more stable of course. I basically replaced the bolts with some alluminium scrap, always found in my cellar 😄
In that way the load cell was still working but the oscillation was near to zero, now.
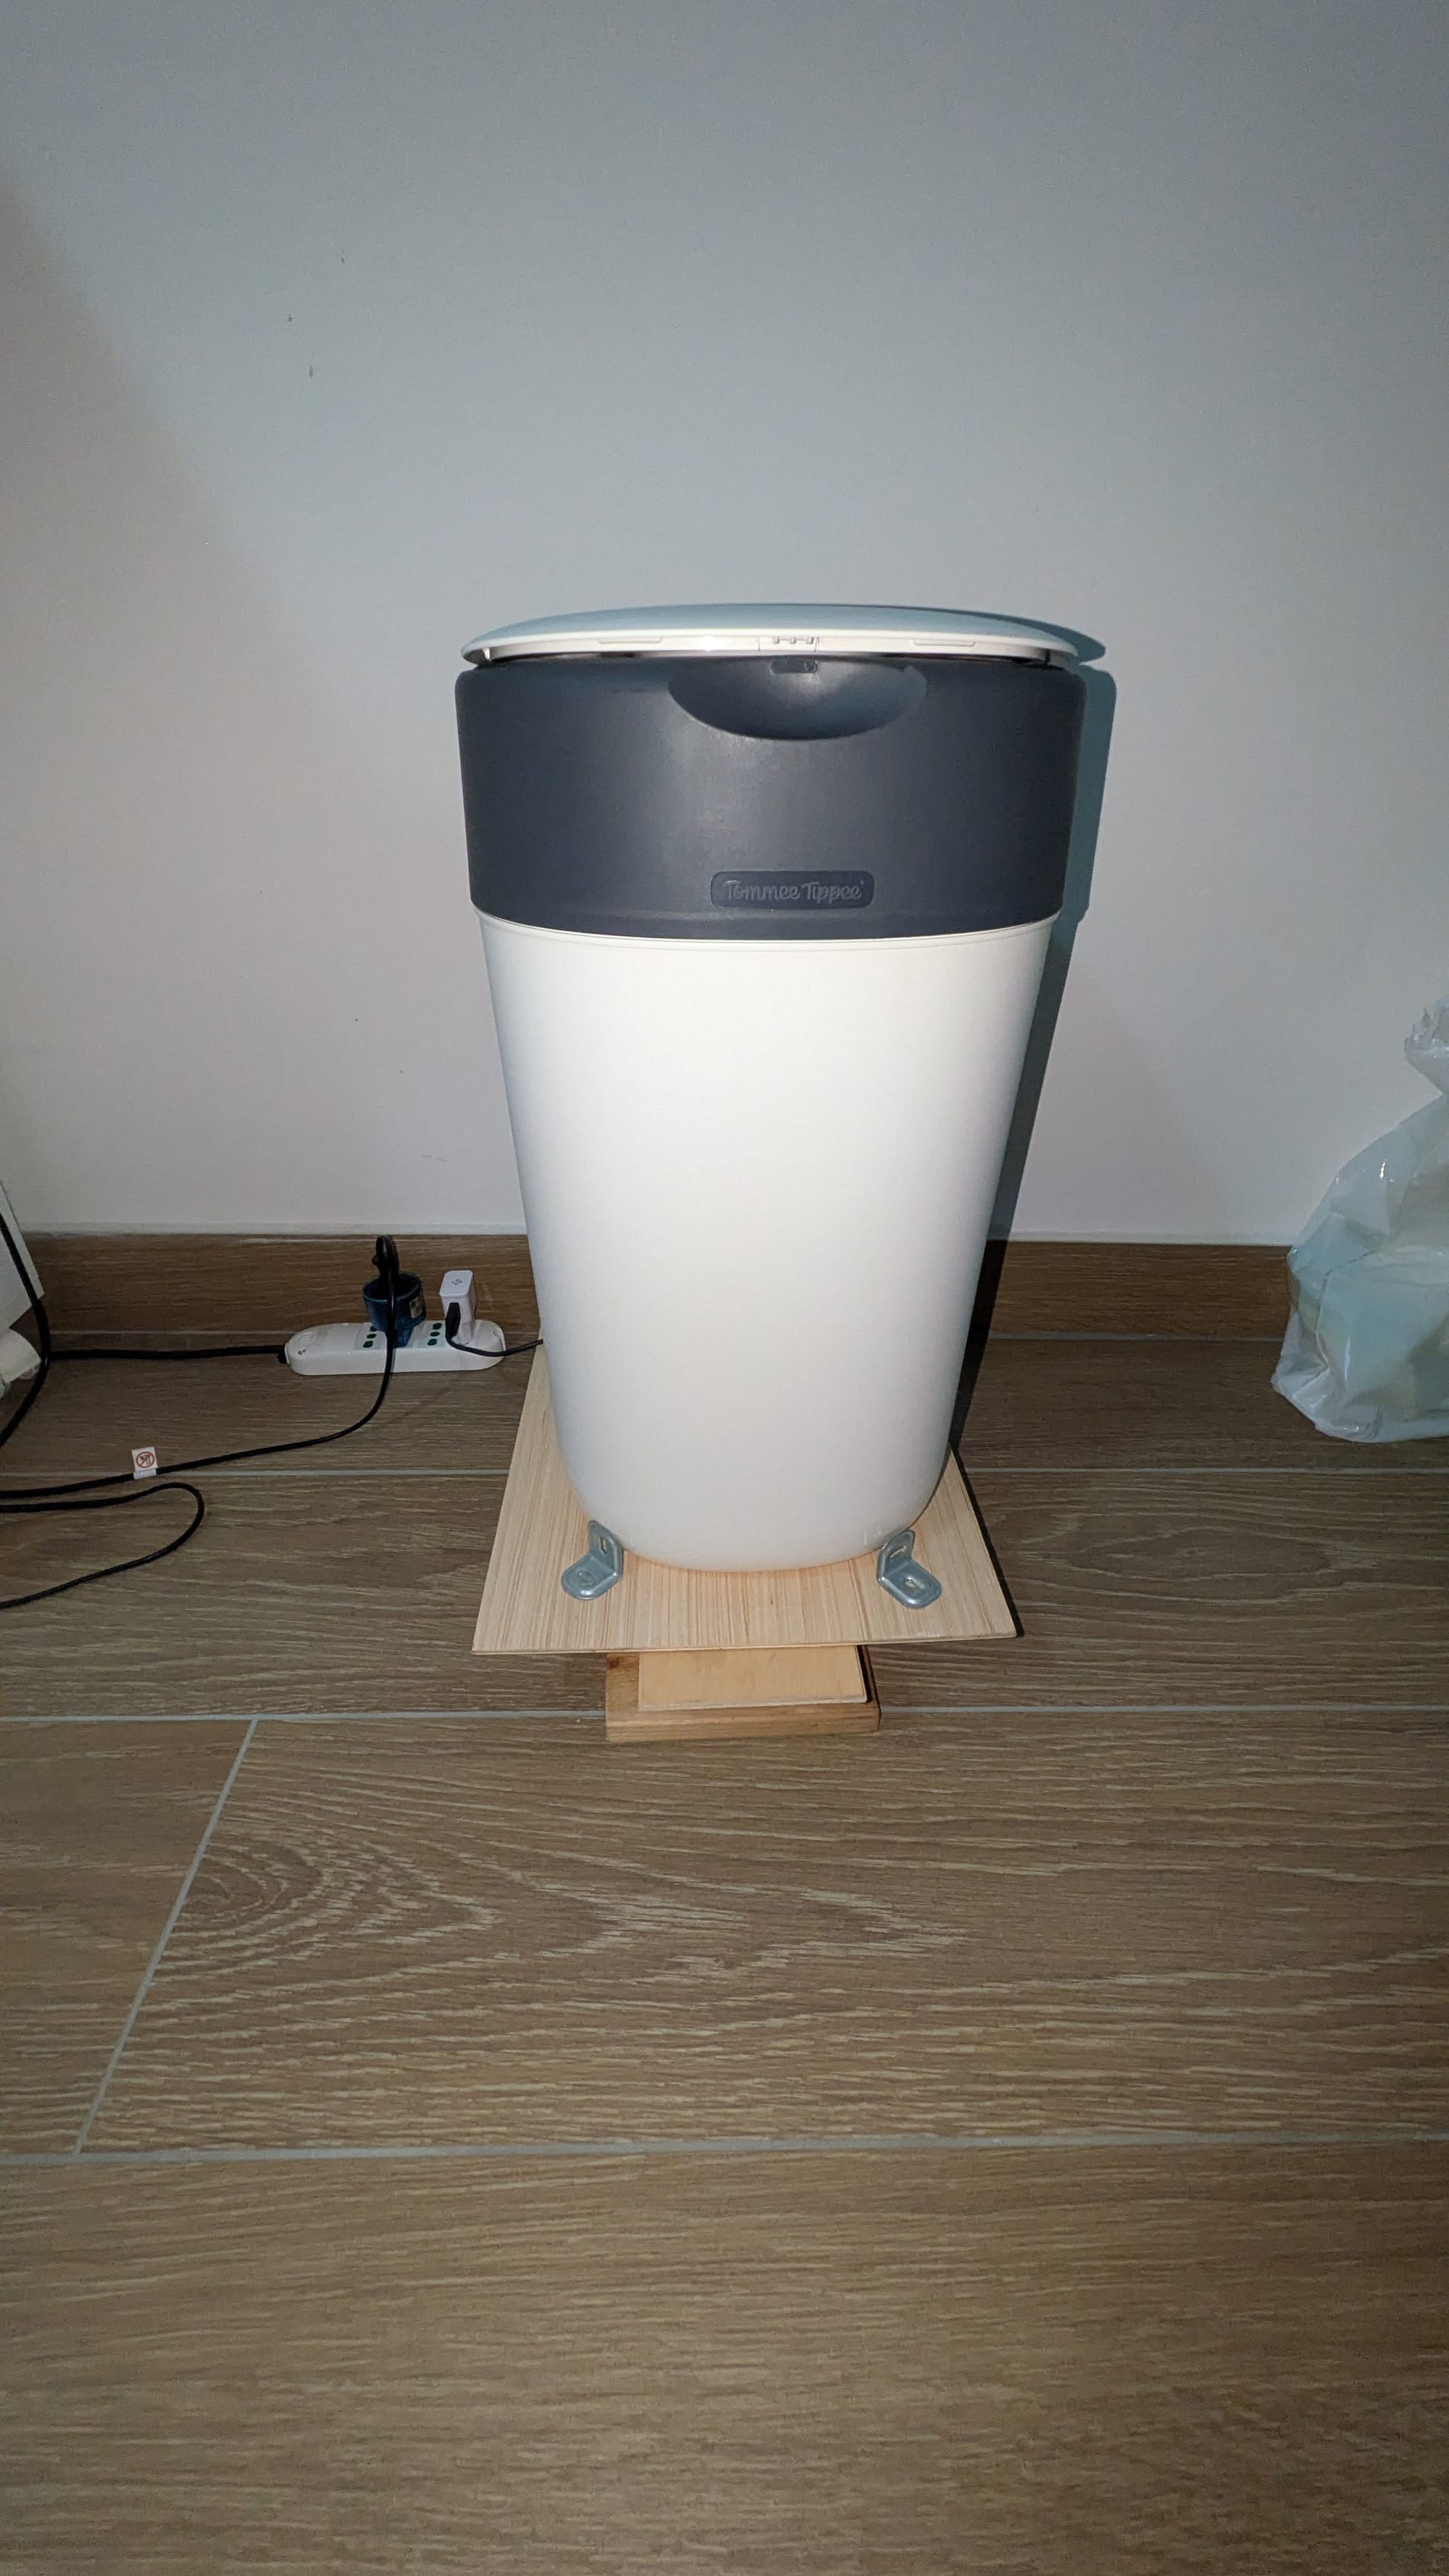
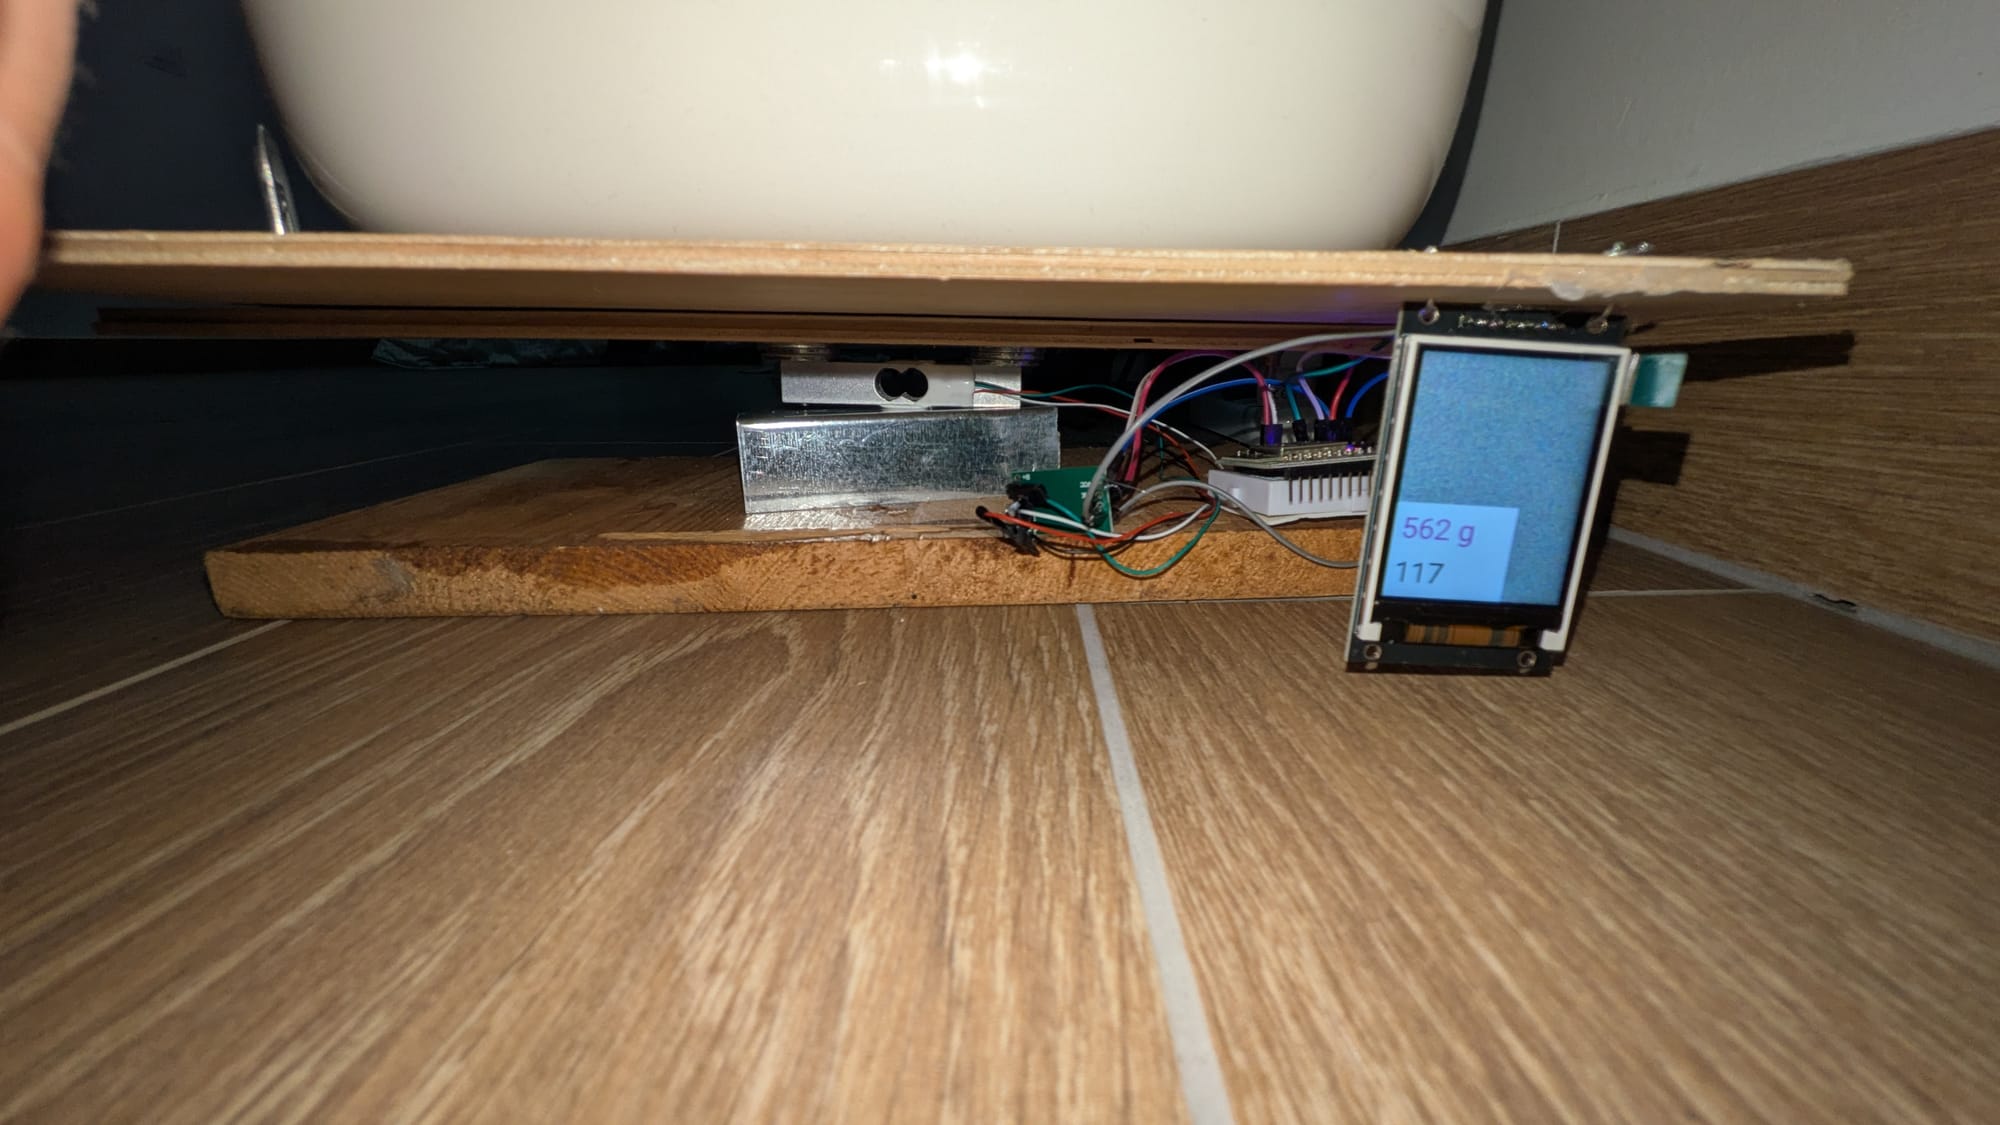
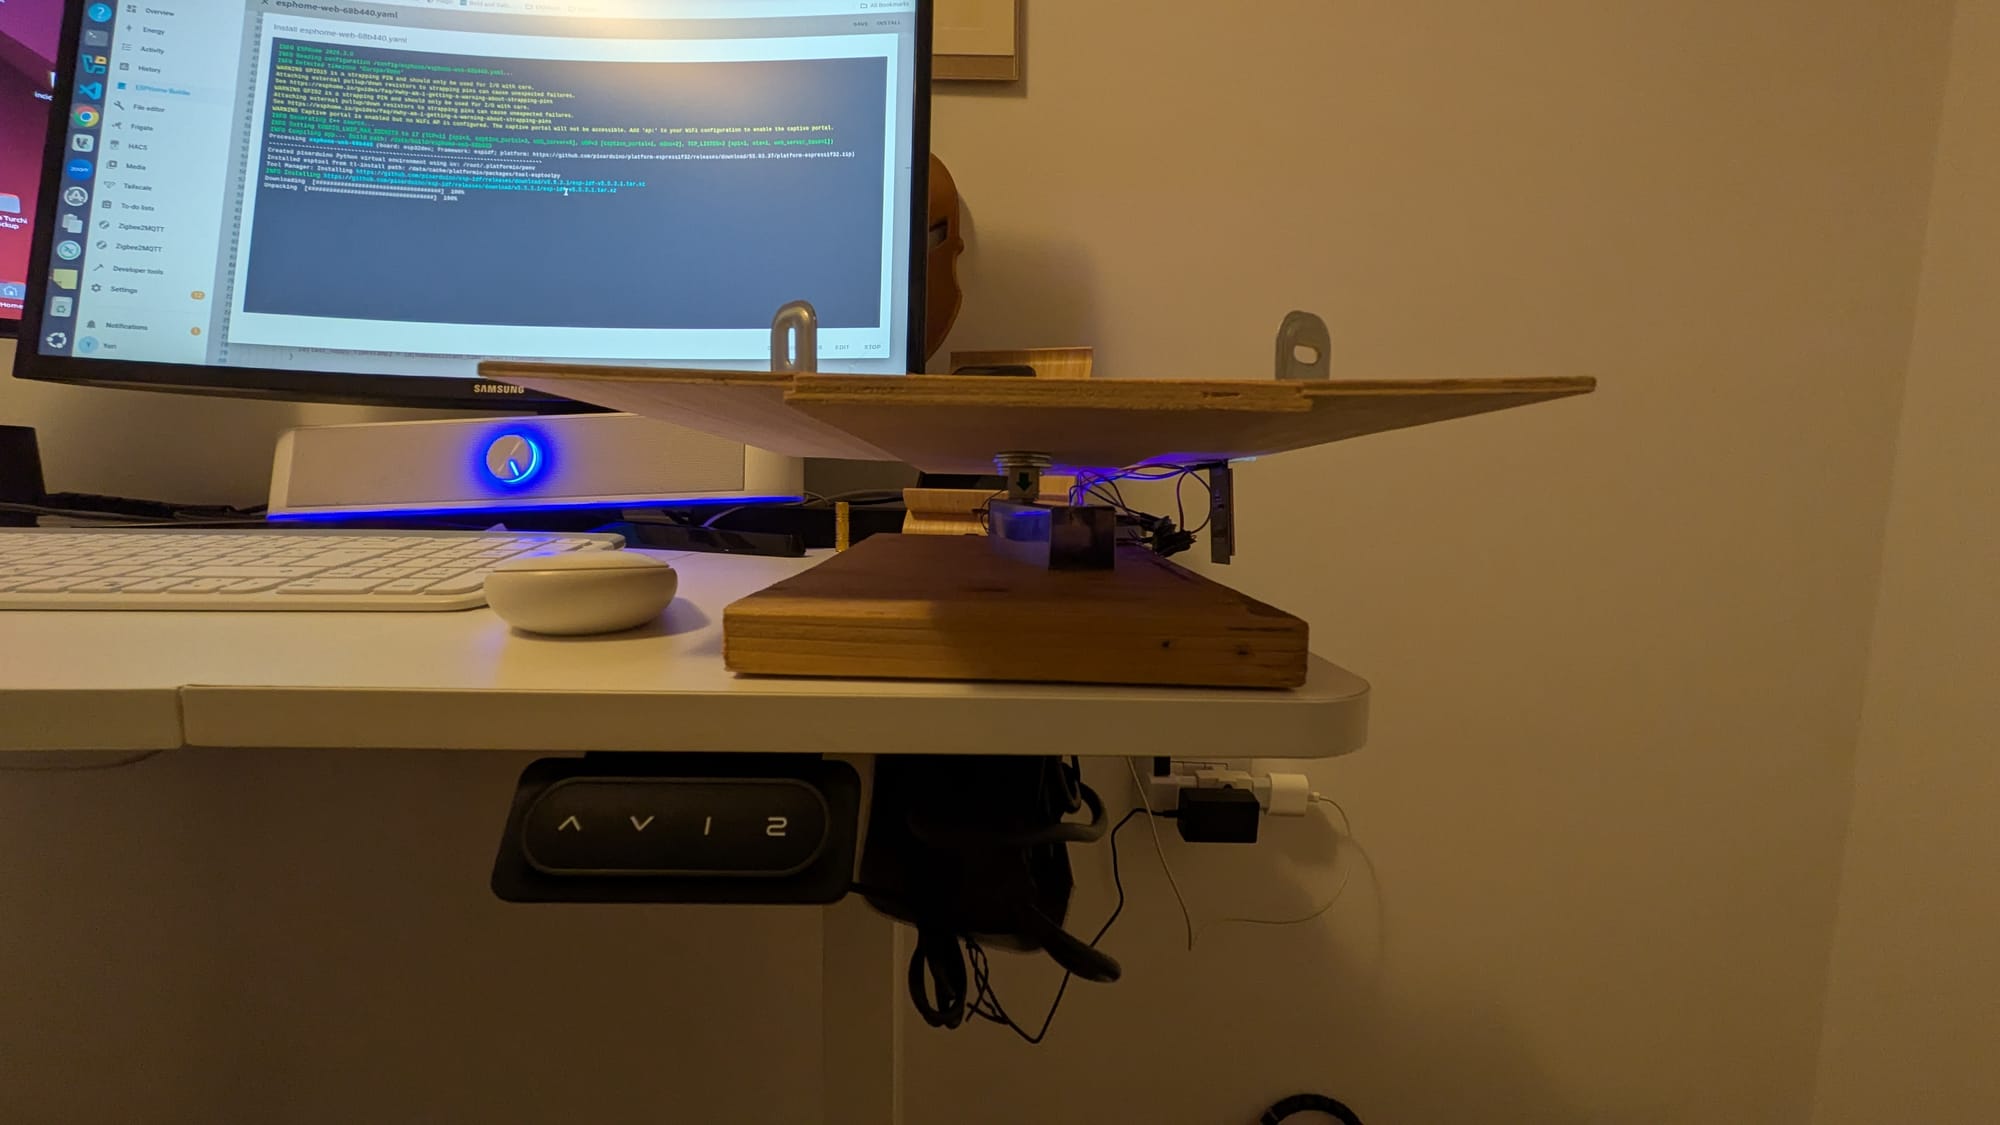
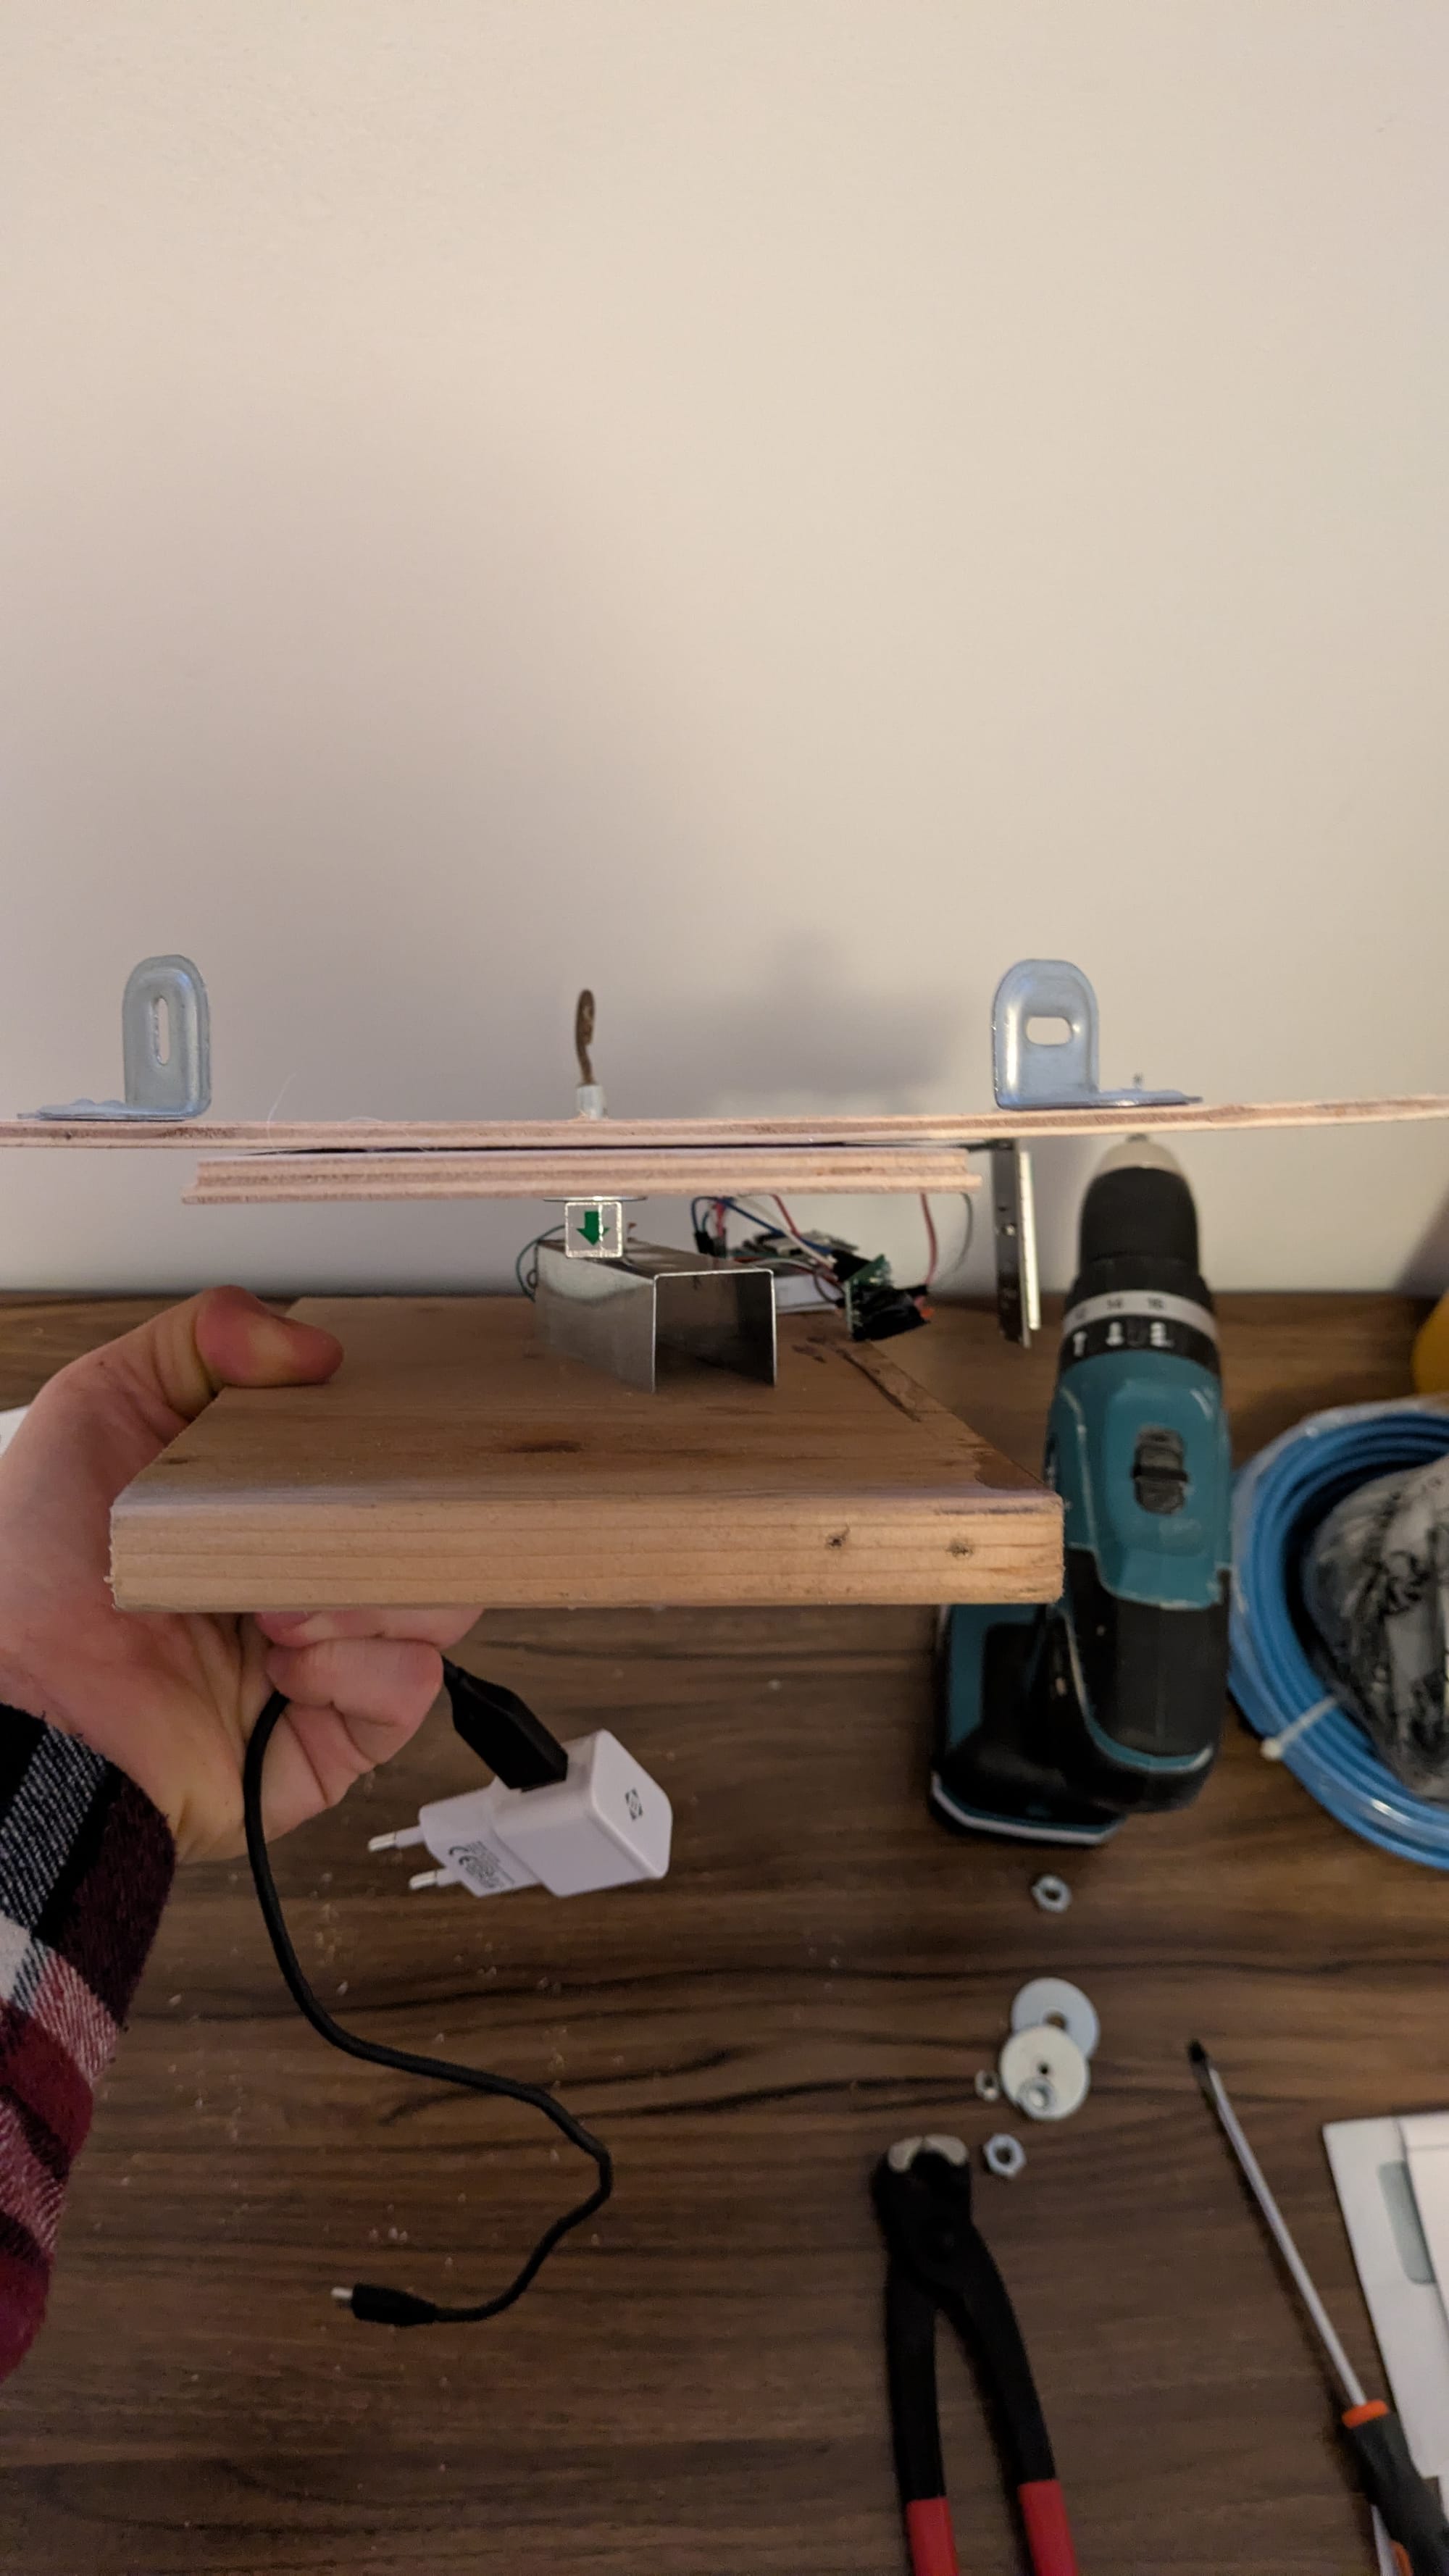
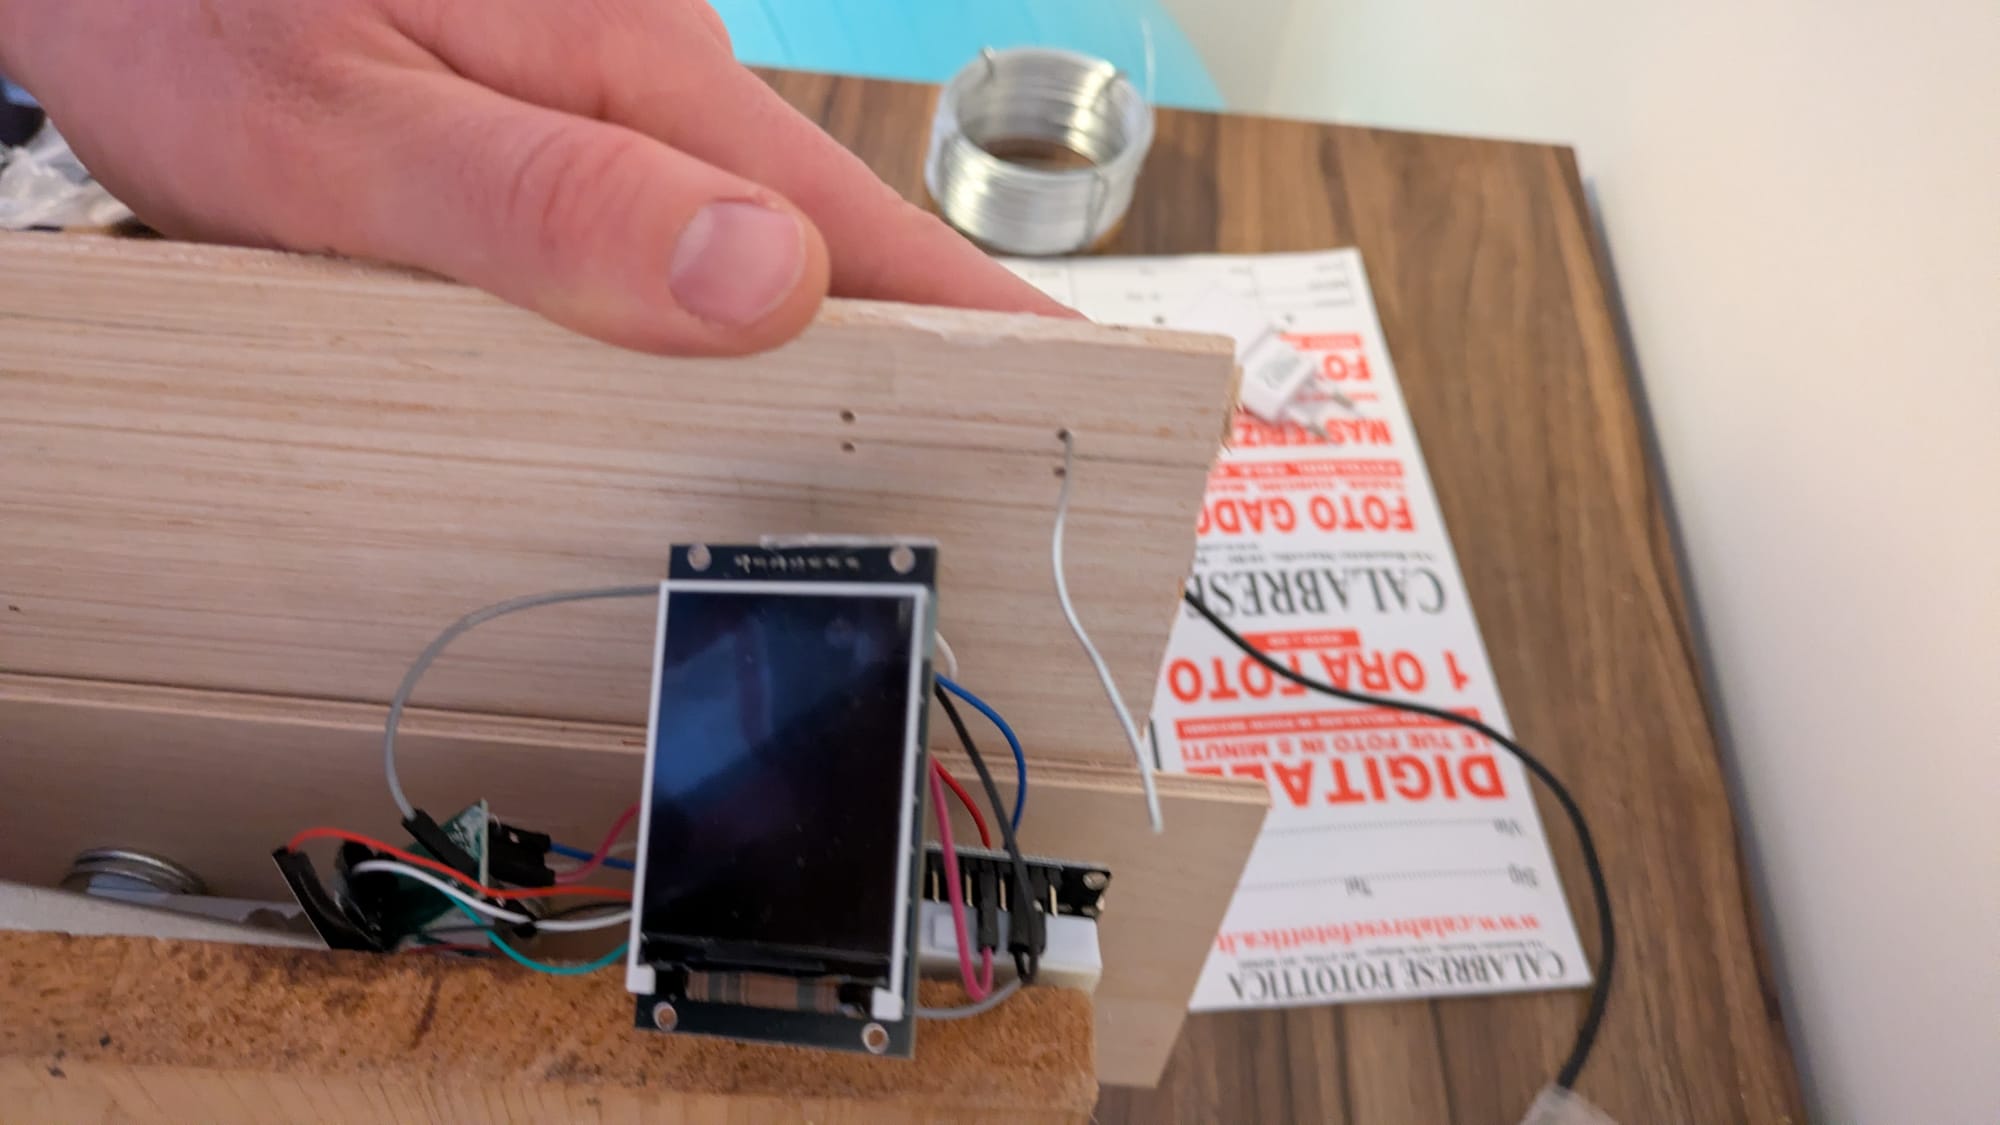
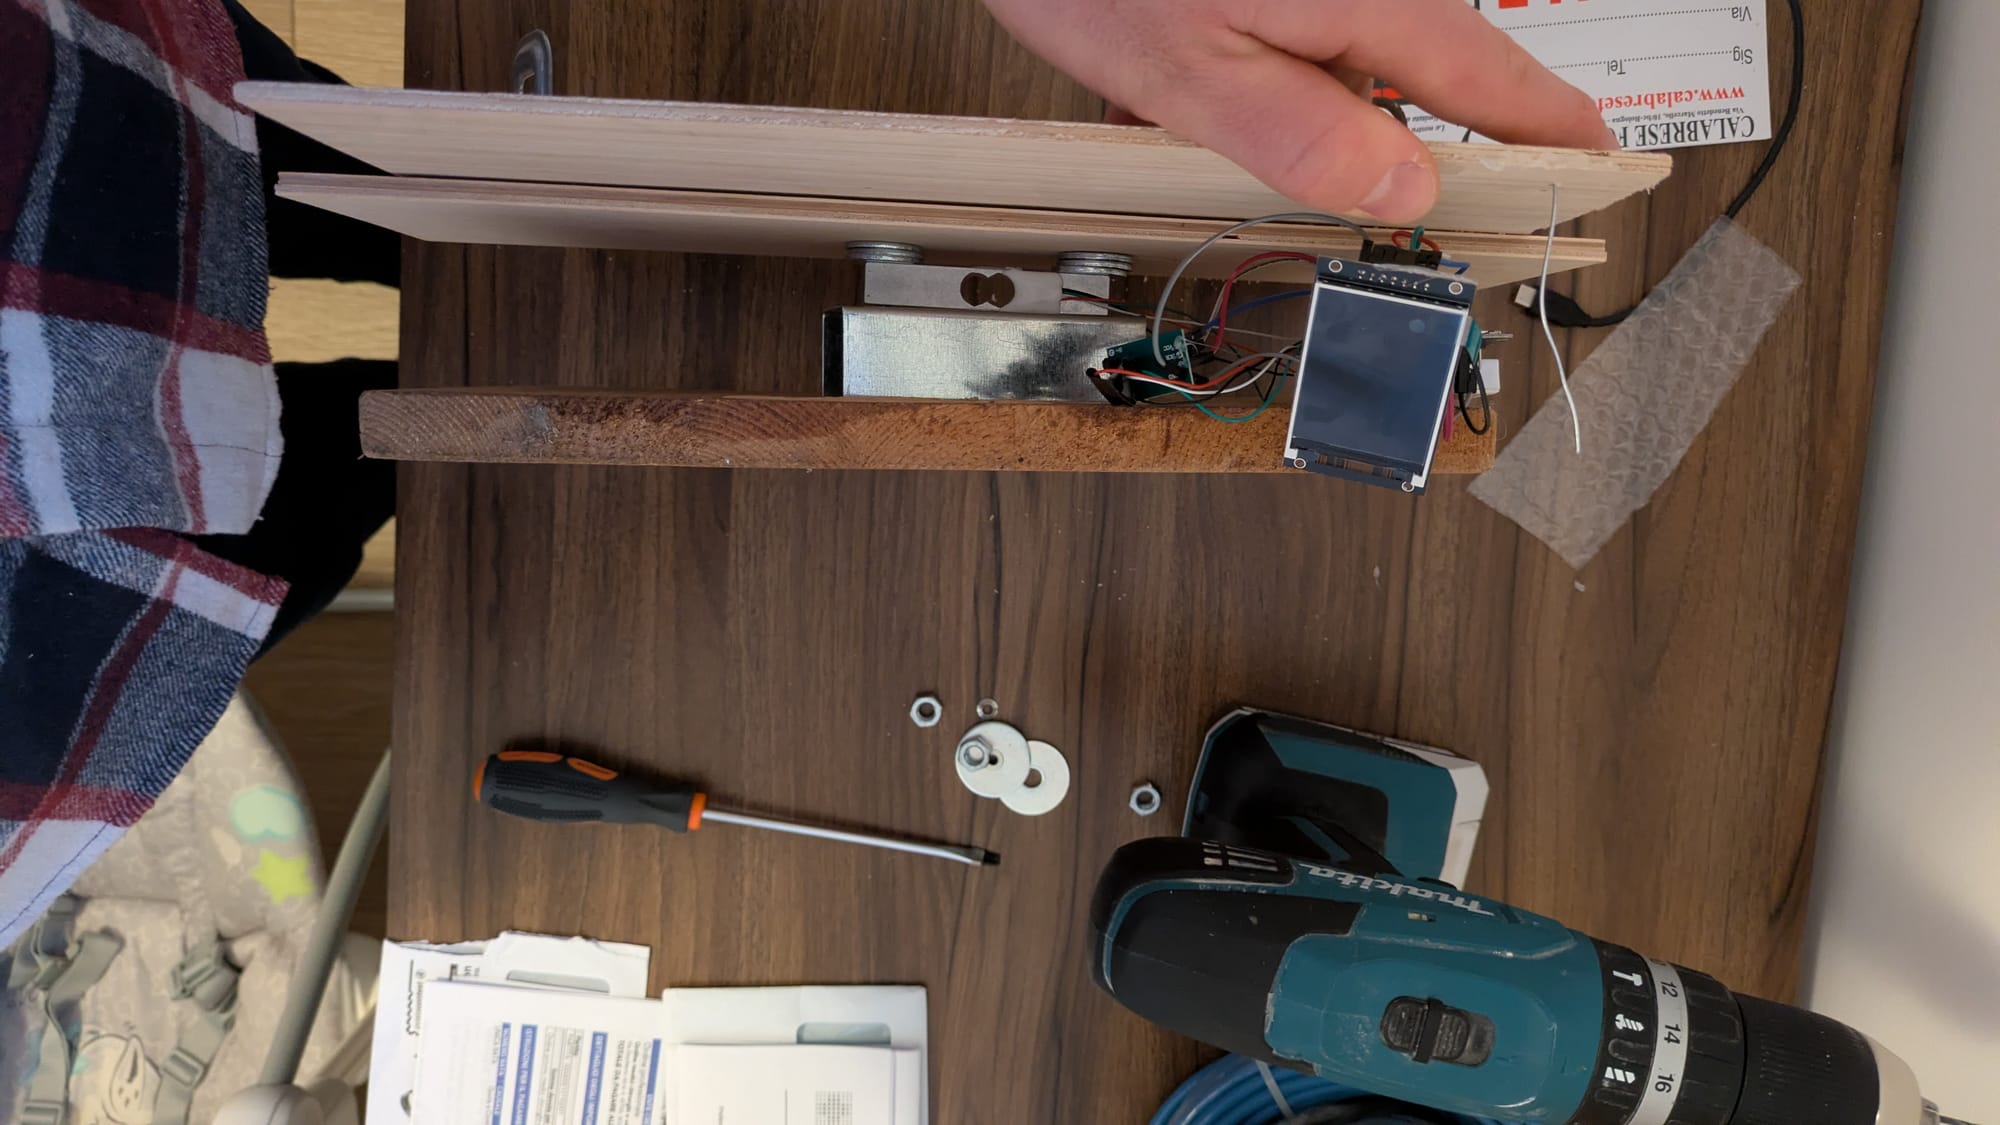
In both cases I had to calibrate again the load cell sensor using a well known (e.g. a bottle of water of 1kg) weight.

EspHome at rescue!
Again, it was the first time for me on a ESPHome project so sorry if I'm not using all the smartest way but I found that procedure pretty easy and straightfrward.
Recipe
- First, I connected just the esp32 to my laptop using usb-c port and have it connected through https://web.esphome.io/
- Once connected I just
- Init/flash the ESPHome firmware in my esp32 board
- connect my esp32 to my local network (where even the HA system lives)
- That's all from my laptop, from now on I did all the rest directly on my HA installation
- Install ESPHome plugin and let him to autodiscover your device in your network
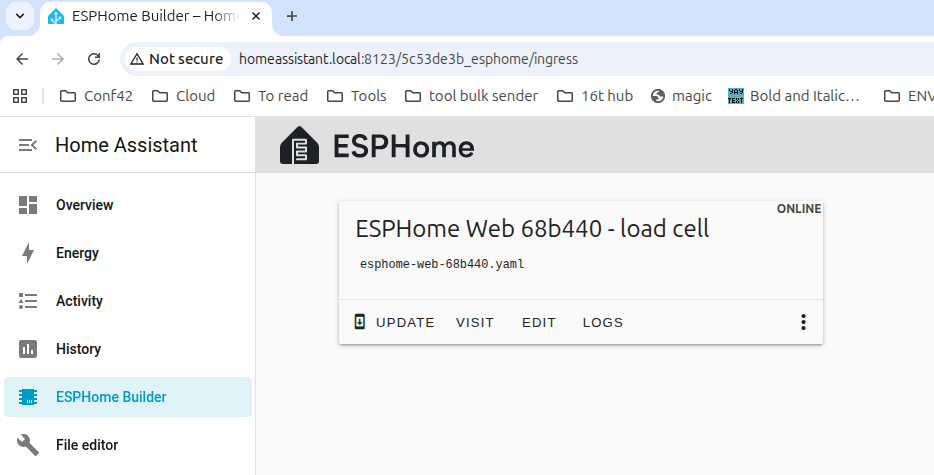
- and from now on I just had to click on "EDIT" to customize the esphome behavior like below and install it. That's almost it.
esphome:
  name: esphome-web-68b440
  friendly_name: ESPHome Web 68b440 - load cell
  min_version: 2025.11.0
  name_add_mac_suffix: false

time:
  - platform: homeassistant
    id: homeassistant_time

esp32:
  variant: esp32
  framework:
    type: esp-idf

logger:

api:

ota:
  - platform: esphome

wifi:
  ssid: !secret wifi_ssid
  password: !secret wifi_password

captive_portal:

web_server:
  port: 80

spi:
  clk_pin: GPIO14
  mosi_pin: GPIO13
  interface: hardware

globals:
  - id: last_weight
    type: float
    restore_value: no
    initial_value: '0'

  - id: nappy_counter
    type: int
    restore_value: yes
    initial_value: '0'

  - id: last_nappy_timestamp
    type: long
    restore_value: yes
    initial_value: '0'
# HX711 sensor
sensor:
  - platform: hx711
    name: "Bin Weight"
    id: bin_weight
    dout_pin: GPIO19
    clk_pin: GPIO18
    gain: 128
    update_interval: 15s

    filters:
      - median:
          window_size: 7
          send_every: 3
      - calibrate_linear:
          - -618100 -> 0
          - -577500 -> 1000

    on_value:
      then:
        - lambda: |-
            float diff = x - id(last_weight);

            // threshold for new nappy (grams)
            if (diff > 30) {
              id(nappy_counter) += 1;
              id(last_nappy_timestamp) = id(homeassistant_time).now().timestamp;
            }

            id(last_weight) = x;

  - platform: template
    name: "Nappy Counter"
    id: nappy_counter_sensor
    lambda: |-
      return id(nappy_counter);
    update_interval: 10s

  - platform: template
    name: "Last Nappy Change"
    device_class: timestamp
    lambda: |-
      if (id(last_nappy_timestamp) == 0) return {};
      return id(last_nappy_timestamp);
    update_interval: 10s

font:
  - file: "gfonts://Roboto"
    id: font_large
    size: 40

display:
  - platform: st7735
    model: "INITR_BLACKTAB"
    cs_pin: GPIO15
    dc_pin: GPIO2
    reset_pin: GPIO4

    device_width: 128
    device_height: 160
    col_start: 0
    row_start: 0

    rotation: 90
    update_interval: 1s

    lambda: |-
      it.fill(Color(0,0,0));

      it.printf(10, 10, id(font_large), Color(0,255,0), "%.0f g", id(bin_weight).state);

      it.printf(10, 70, id(font_large), Color(255,255,255), "%d", id(nappy_counter));
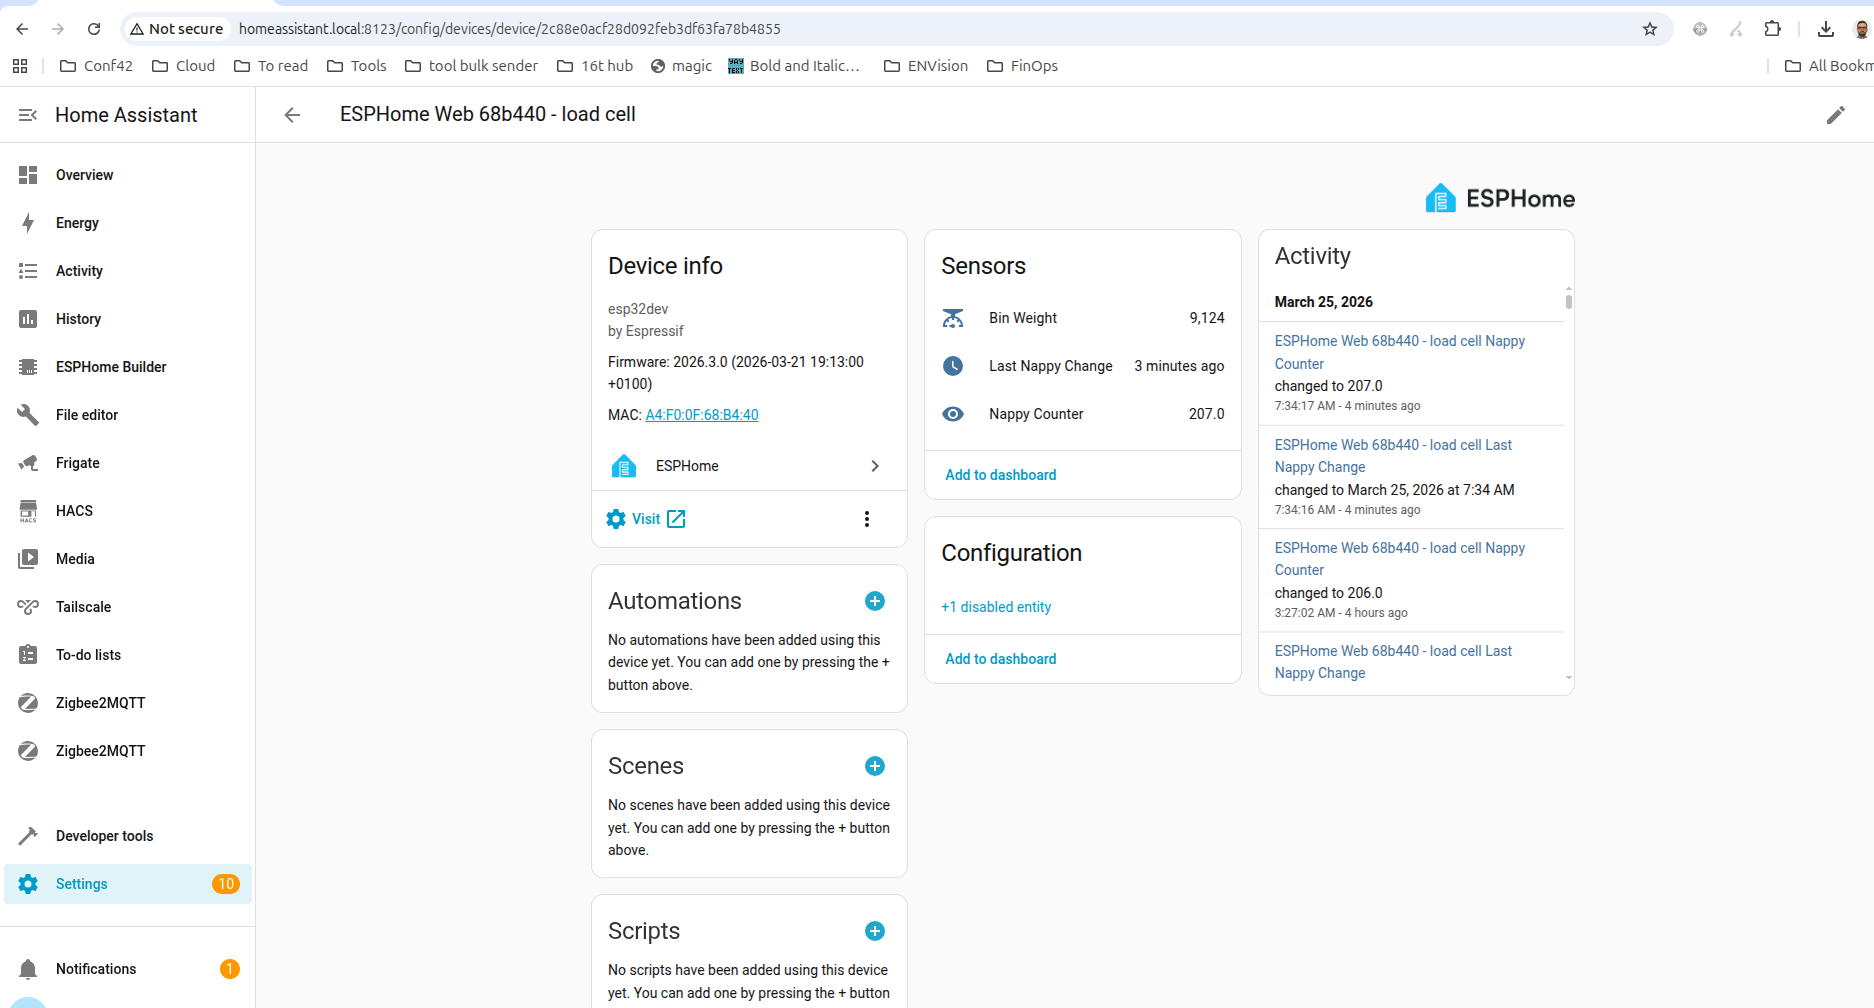
- Last but not least I had to make that device discovered like below
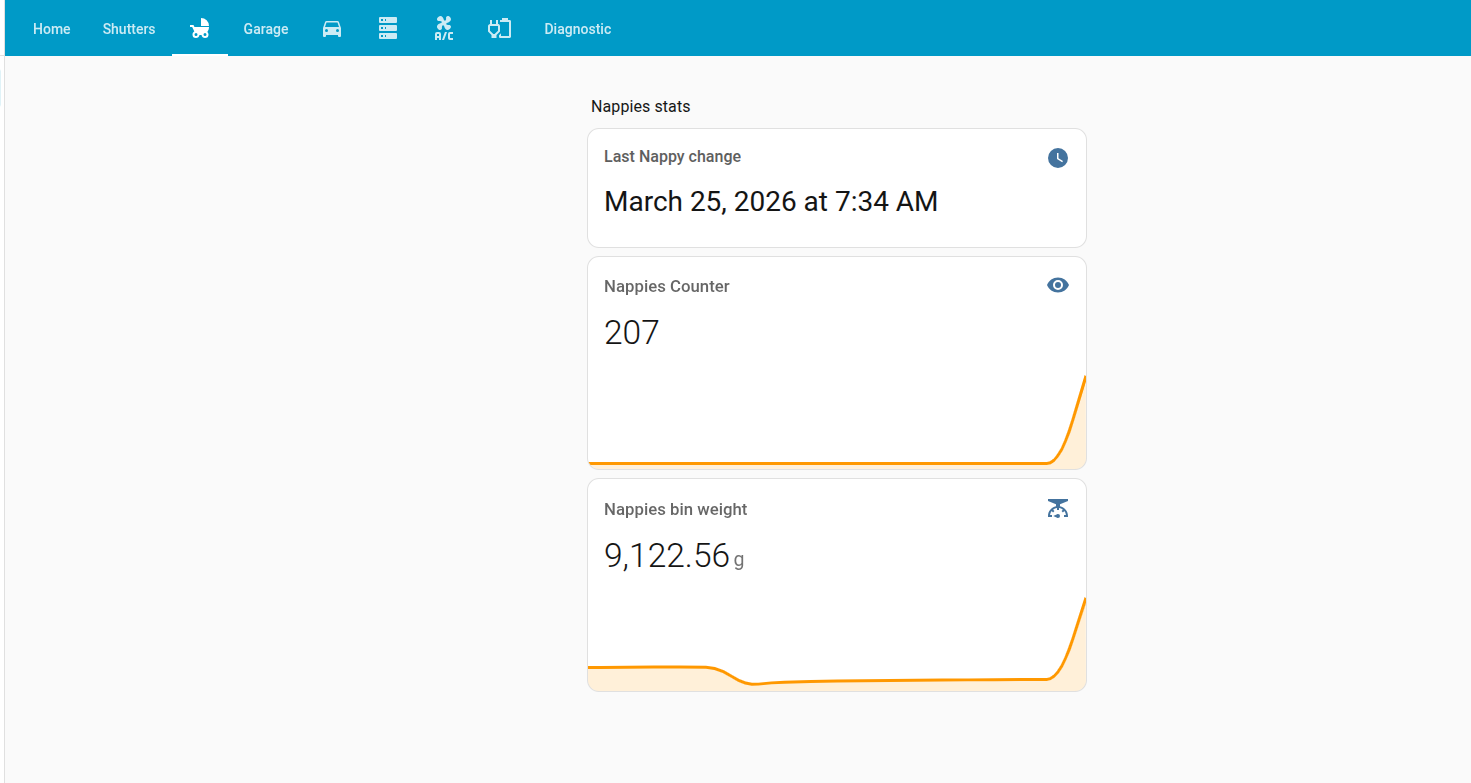
And finally I was able to create my newest useless dashboard 😅
Happy HA addiction.